
My amazing and crafty design process
Ok maybe not so amazing, but for sure crafty.
First, the process is relatively simple, you apply a stencil to a product and then sandblast the stencil's image with a special abrasive applied at high pressure. The abrasive then erodes the surface in the open areas of the stencil and leaves a permanently carved impression.
I know it sounds boring but it's quite fun to do.

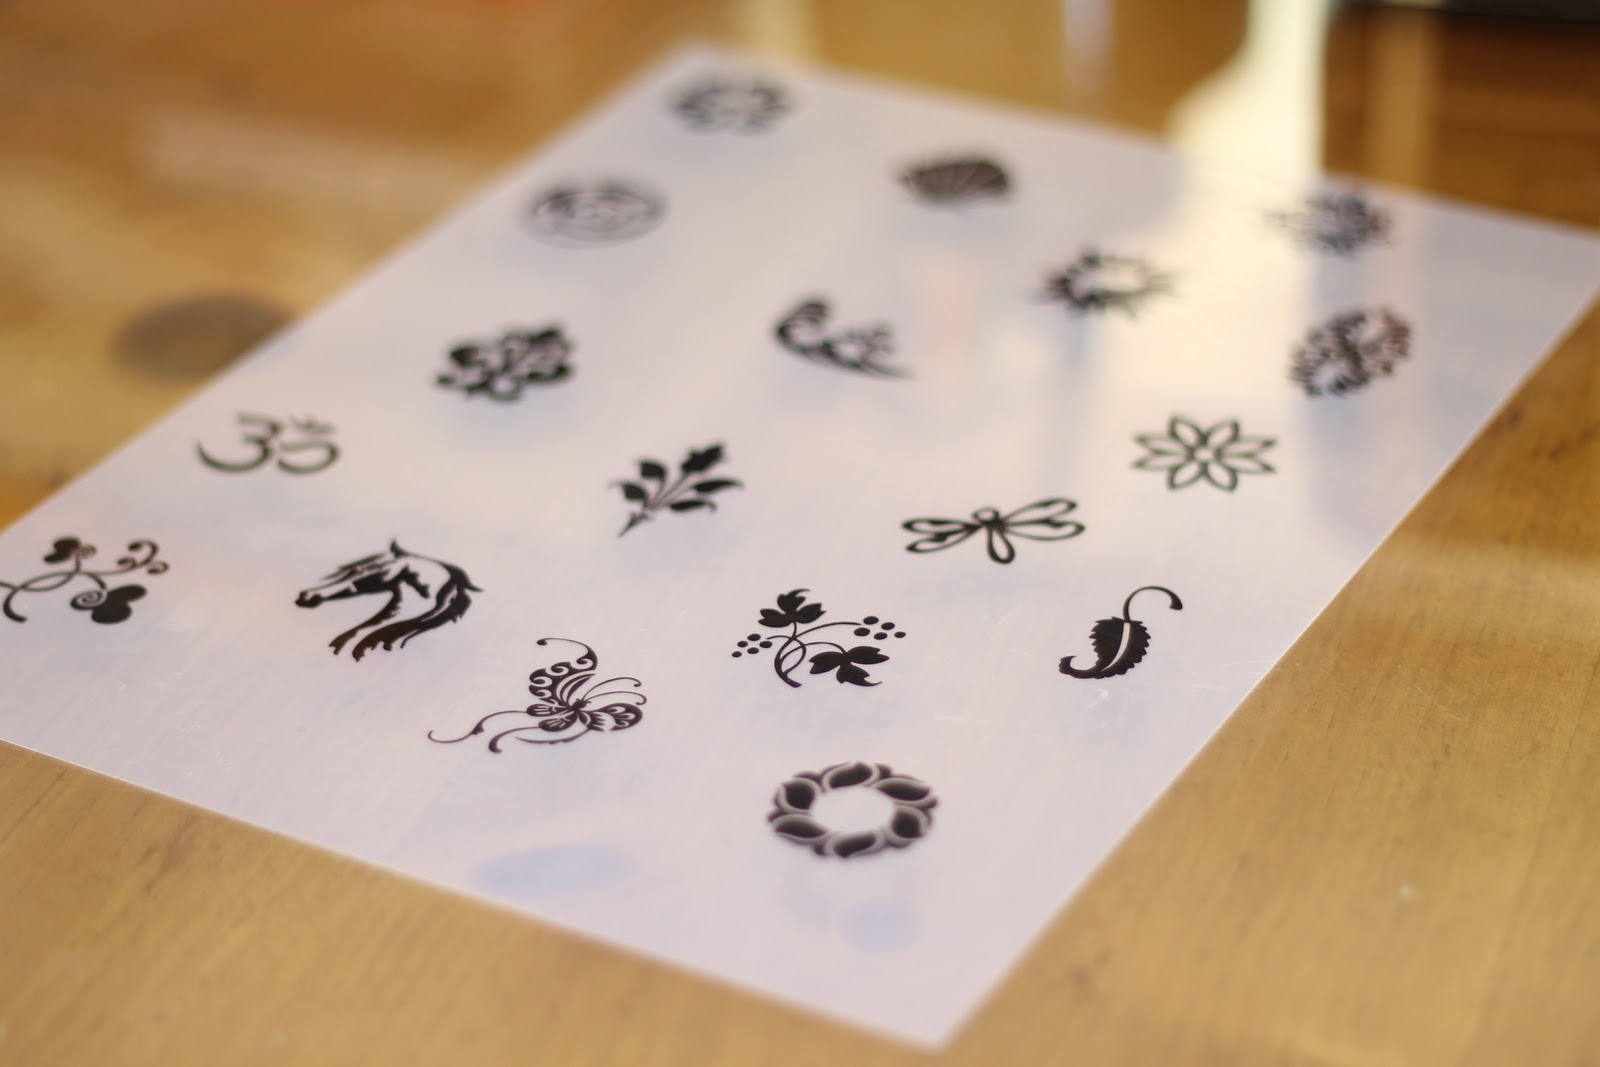
The very first step is the most important because it's where the creativity determines what the pendant will look like. I either draw the image I want or I use royalty-free graphics. I then upload the image to Photoshop where I darken it and scale it down to the size I like. Now it is ready to be printed on a special type of vellum paper shown below.
Sidenote: Sandcarving or sandblasting using this process I am showing you have only been around for about 10 years.
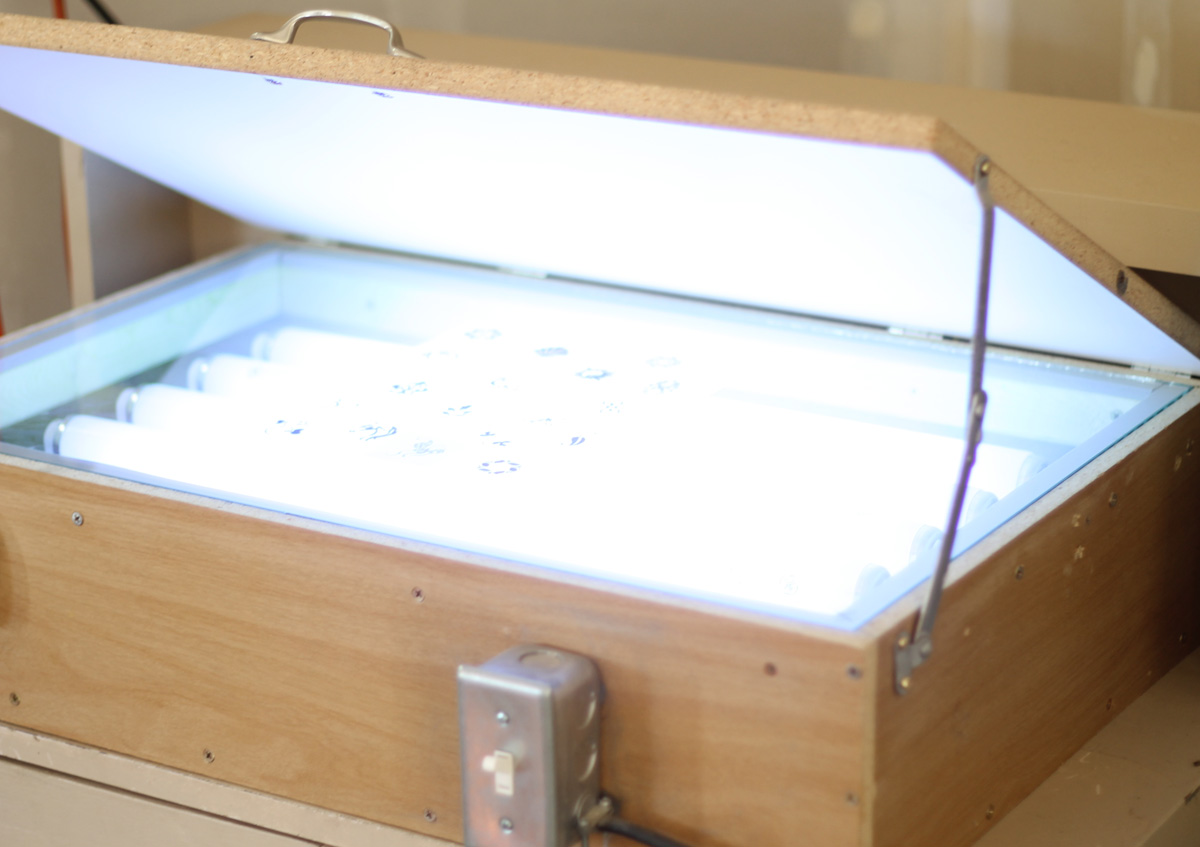
My father is an electrician so together with my hubby we built a light box to expose the film.
The next step is to expose. I place the film on top of the vellum and turn the light on for 1min 30 seconds.

After exposure, the next step is to pressure wash with warm water to develop the film. I use Ikonics Triggerjet and it works like a charm. You can buy washout boxes or just use a sink or shower.

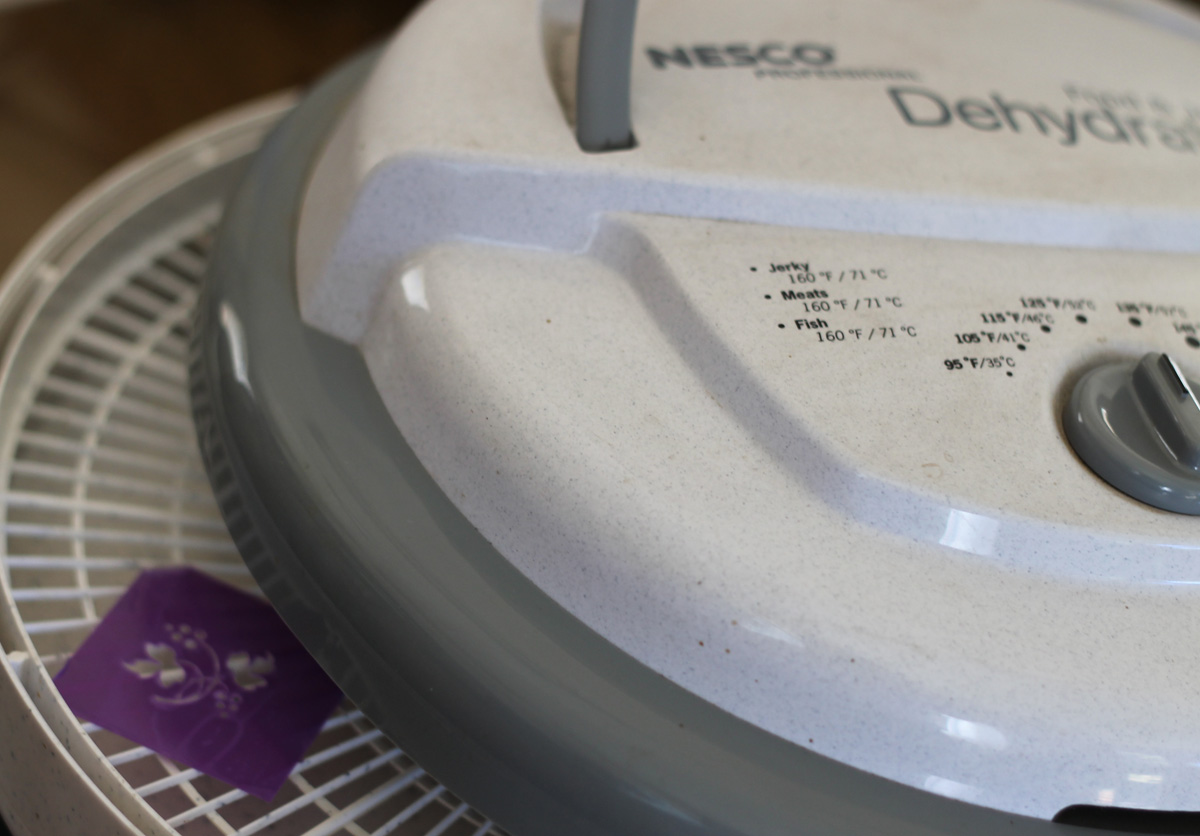
 I then place my stencil in my handy dandy Nesco food dehydrator. The alternative is using a photoresist film dryer or you can also use a blow dryer.

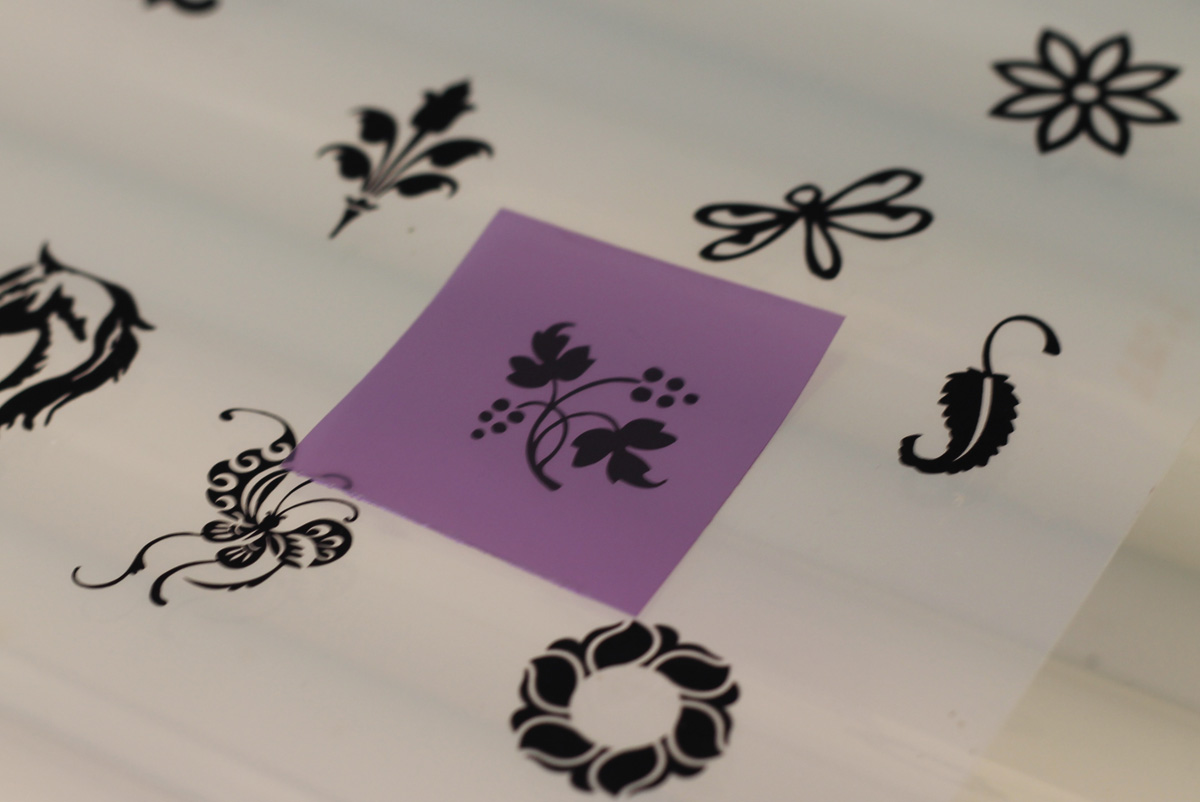
After drying I remove the carrier sheet and then apply it to my stone of choice.


I then position the film and remove the protective carrier sheet. I wrap the film around the stone and tape the back so the stone doesn't get damaged in the sandblasting process.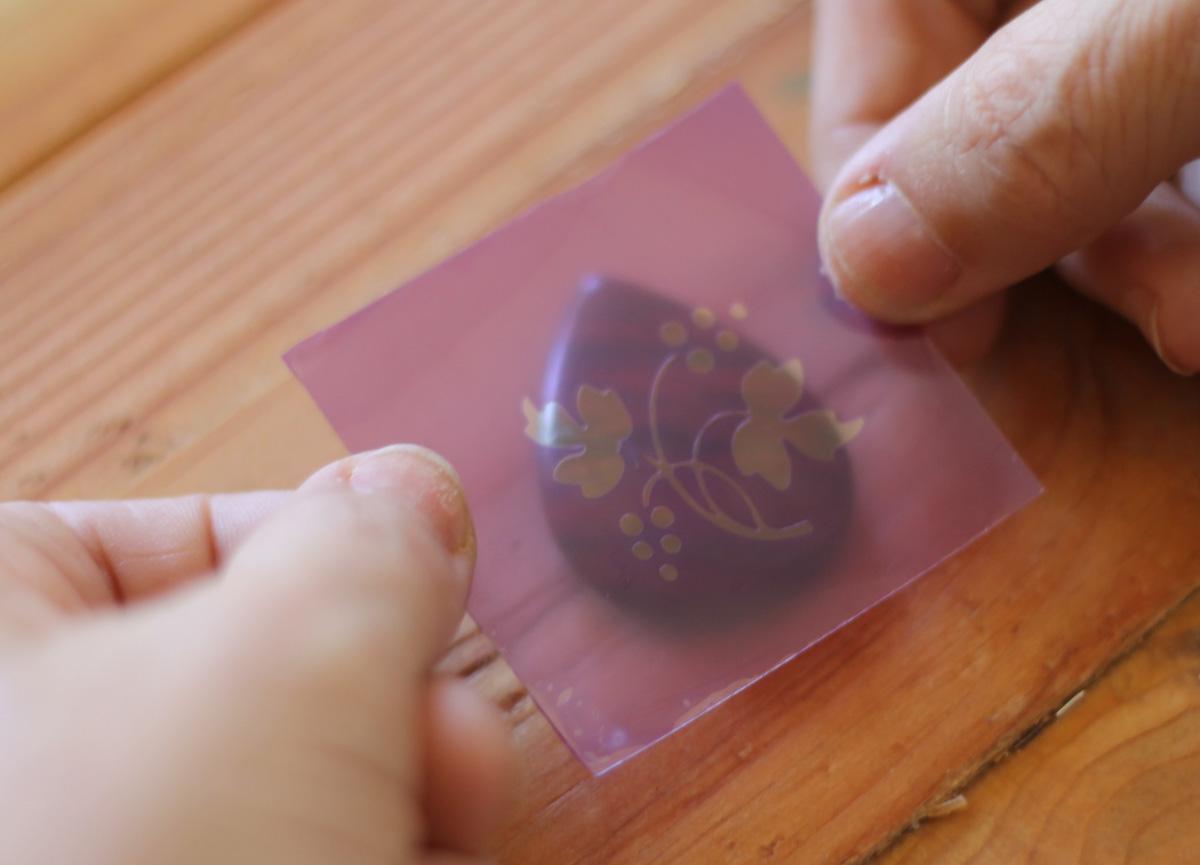

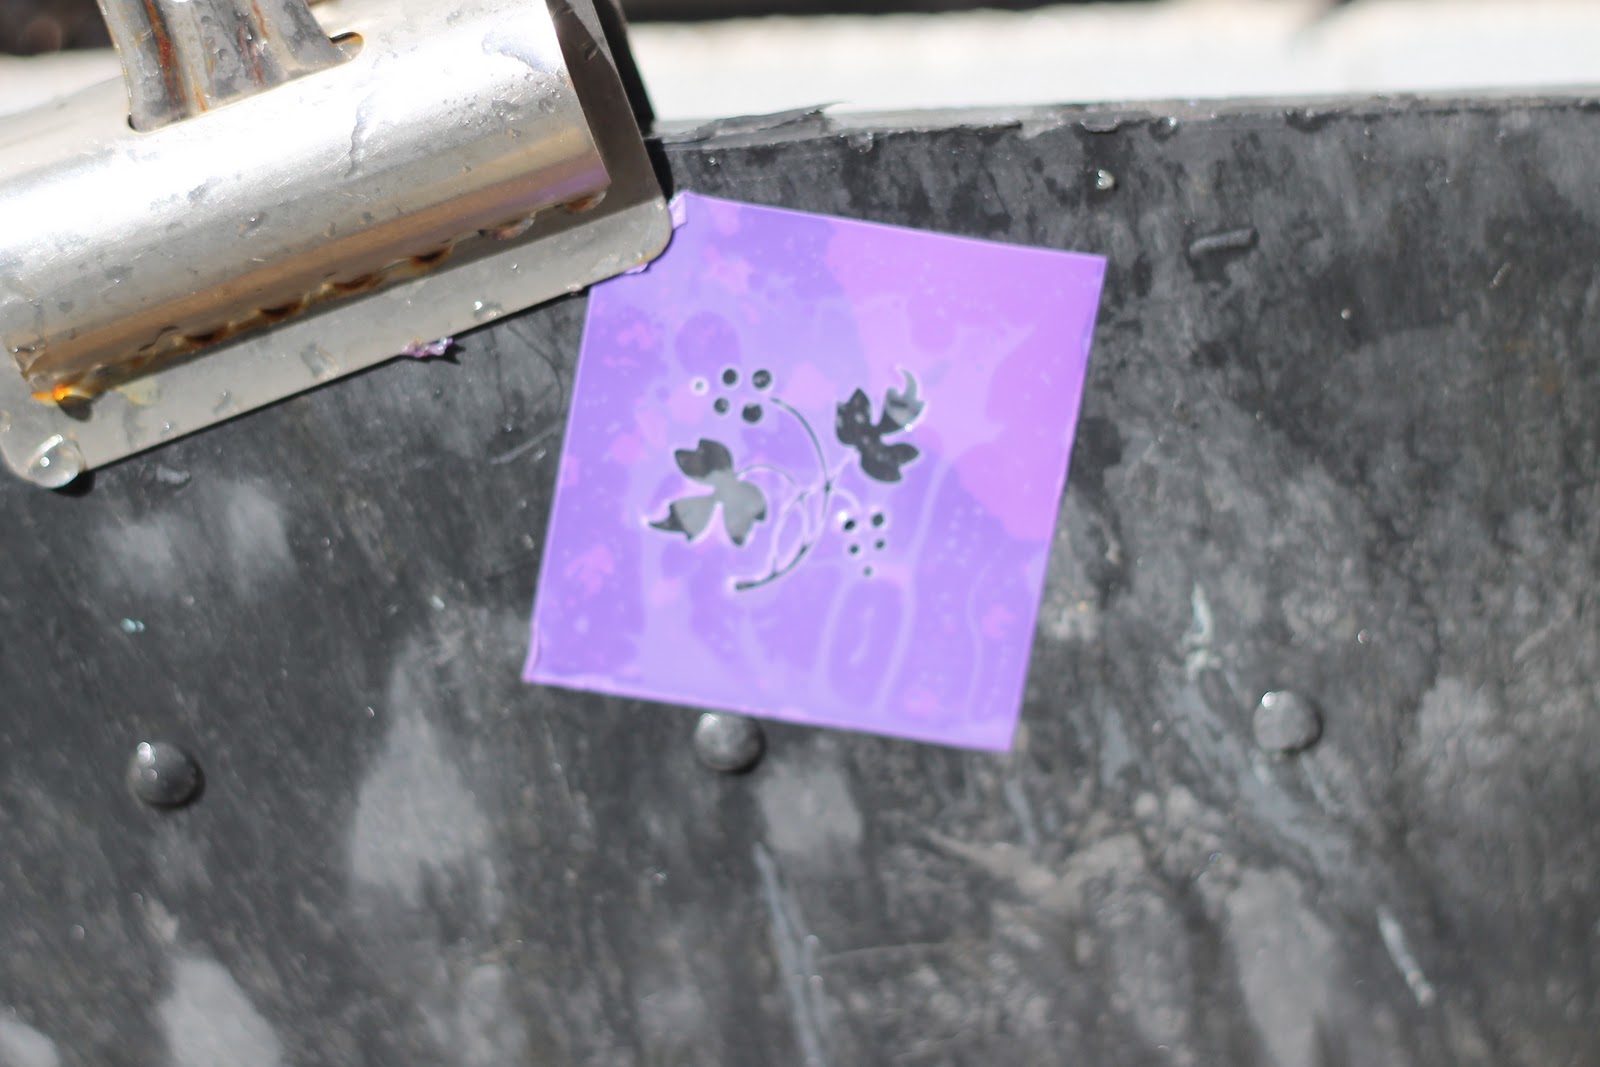
The next step is to sandblast the piece. I bought this equipment from a very nice gentleman who hand-makes these out of Texas. We modified it to use a foot pedal so I had better control and installed a smaller more fine tuned tip for blasting.
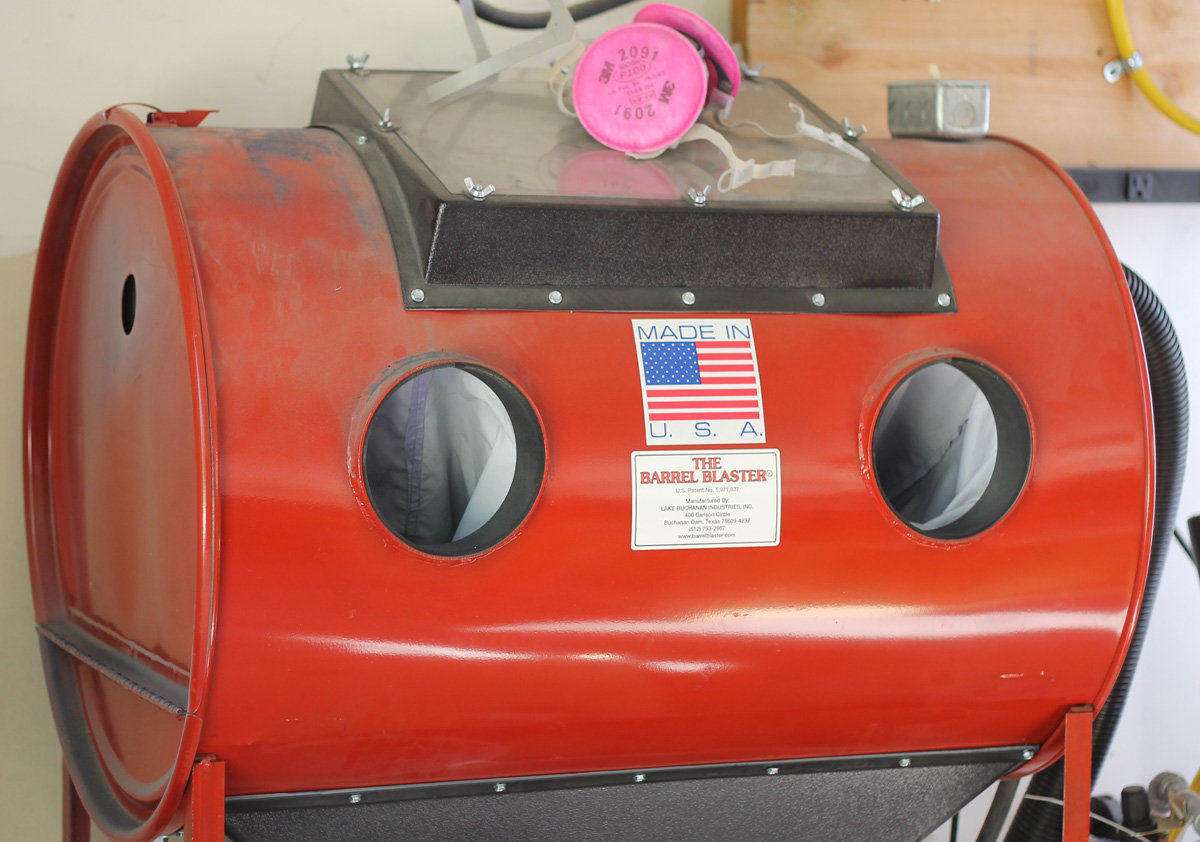
Sorry about the pic being blurry, it was a challenge to get it just right.

I use silicon carbide grit, which is extremely fine sand, and sandblast at approximately 35psi. I used different grit and different films until I got the exact formula that I use for my process today.

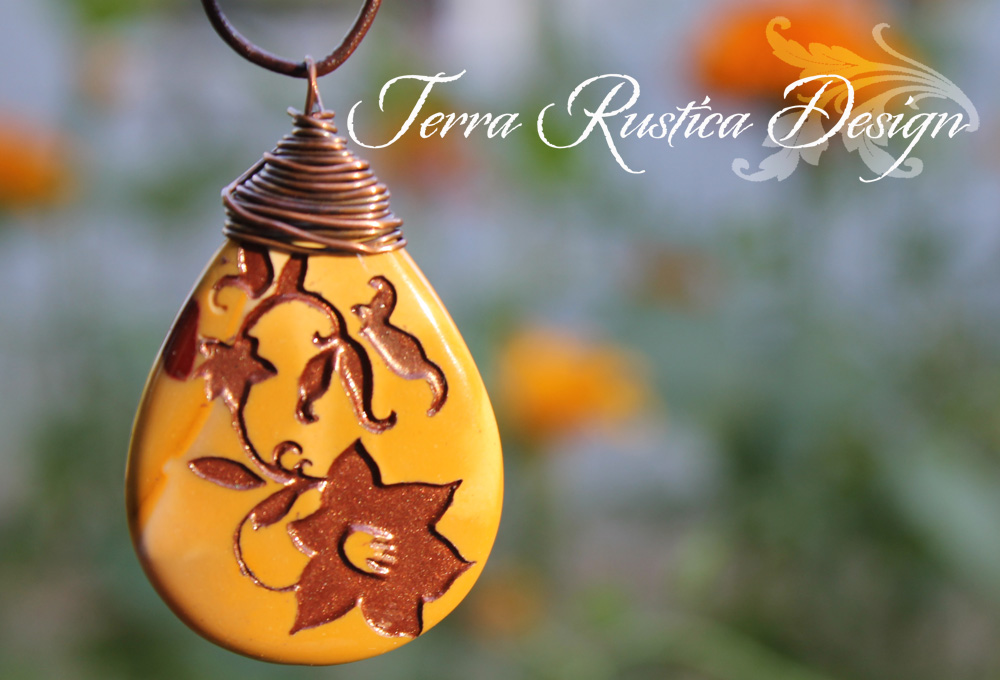
The final step in the process is to airbrush paint the sandblasted piece. I use non-toxic acrylic paint with metallic colors. I then spray a coating of an acrylic top coat to seal in the paint and give it a shine.
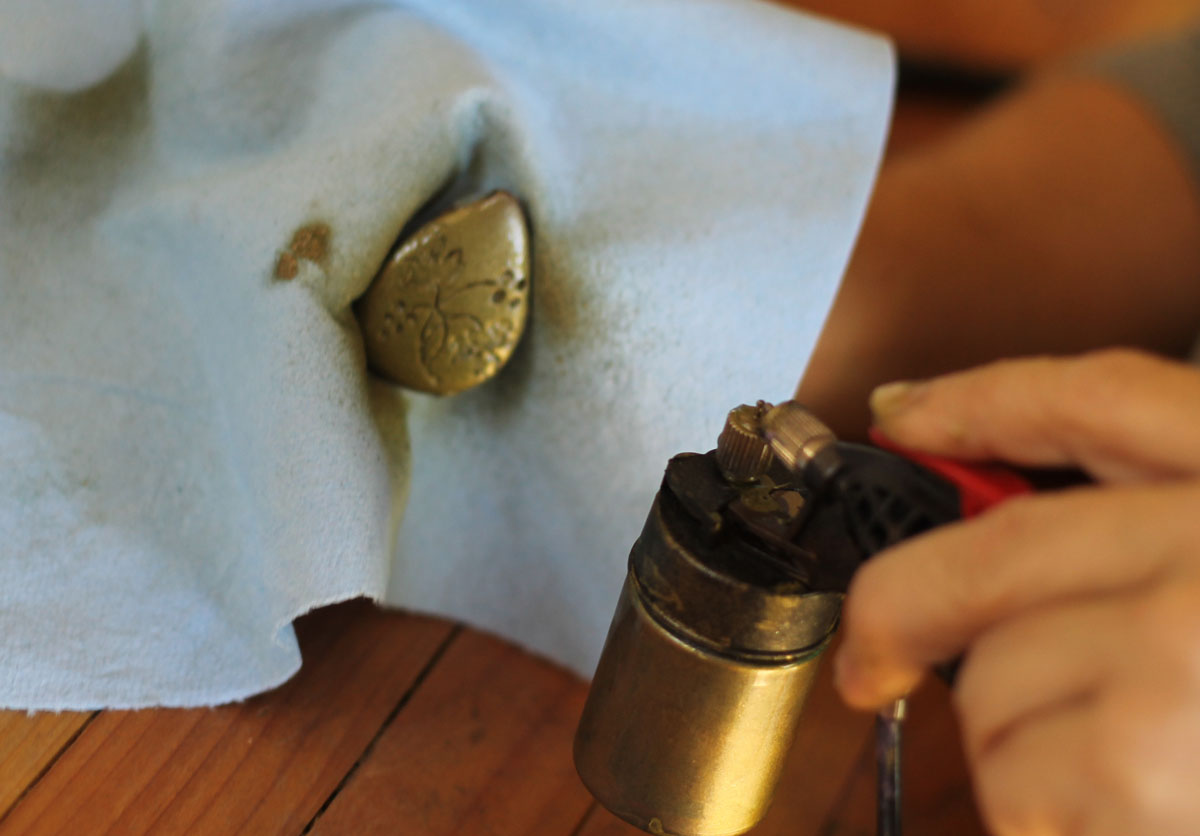

I let the piece sit overnight so it's nice and dry and then I remove the film and clean the stone.
Thank you for reading about my design process. Please feel free to contact me if you have any questions.